Your cart is empty. Let's fix that!


Whether your dog is an obsessive groomer or wants to roll in every mud puddle, every pooch requires regular grooming to look and feel their best. Here’s how to do all the basics at home!
Pet grooming can feel a little intimidating! Between your dog running for the hills every time they hear the bath running and the dizzying array of brushes available at the pet store, it can be hard to know where to start. Keep reading to learn the basic grooming supplies you should have on hand and how to use them right to keep your dog in tip-top shape!
Regular brushing and combing is essential for removing tangles, preventing mats, shedding dead hair and skin, and distributing natural oils throughout your dog’s fur.
Dogs with shorter, tangle-free fur should be brushed at least once a week but can be groomed more frequently if desired to reduce shedding and brush out dirt. Start with a rubber brush to loosen shedding fur and then finish with a bristle brush to comb through the hair and sweep shed away.
Dogs with longer, tangle-prone hair should be groomed daily to maintain all that fur! Start by gently combing through their coat with a slicker brush to detangle and then finish with a bristle brush to capture loose fur and leave your dog’s coat shiny and luxurious.
Dogs should be bathed every 1-3 months depending on their lifestyle—or how often they like to roll around in the mud. You can bathe your dog as often as needed to stay clean, but even the most neat and tidy dogs require periodic baths to stay fresh and remove built up skin cells and oils.
You can bathe them in your bathtub or shower, outside by a hose, or anywhere that you don’t mind getting real wet as they inevitably shake water all over. When they’re ready for bath time (possibly thanks to a bribe of bathtub peanut butter), moisten their fur with warm (not hot) water and give them a good scrub down with dog shampoo.
Shampoo really needs to be massaged in to grab onto dirt and do its job right, so work in sections and rub for 3-5 minutes in each area to work in the product. Work carefully around the ears and eyes, using a washcloth or cotton ball if needed to avoid getting shampoo and water inside.
When you’re done scrubbing, it’s time for a good rinse! Rinse them thoroughly with lots of warm water, agitating the fur as you do to get out all the shampoo. Experts recommend fully rinsing your dog twice to prevent any skin irritation from lingering shampoo. You can apply a rinse-off or leave-in dog conditioner if desired.
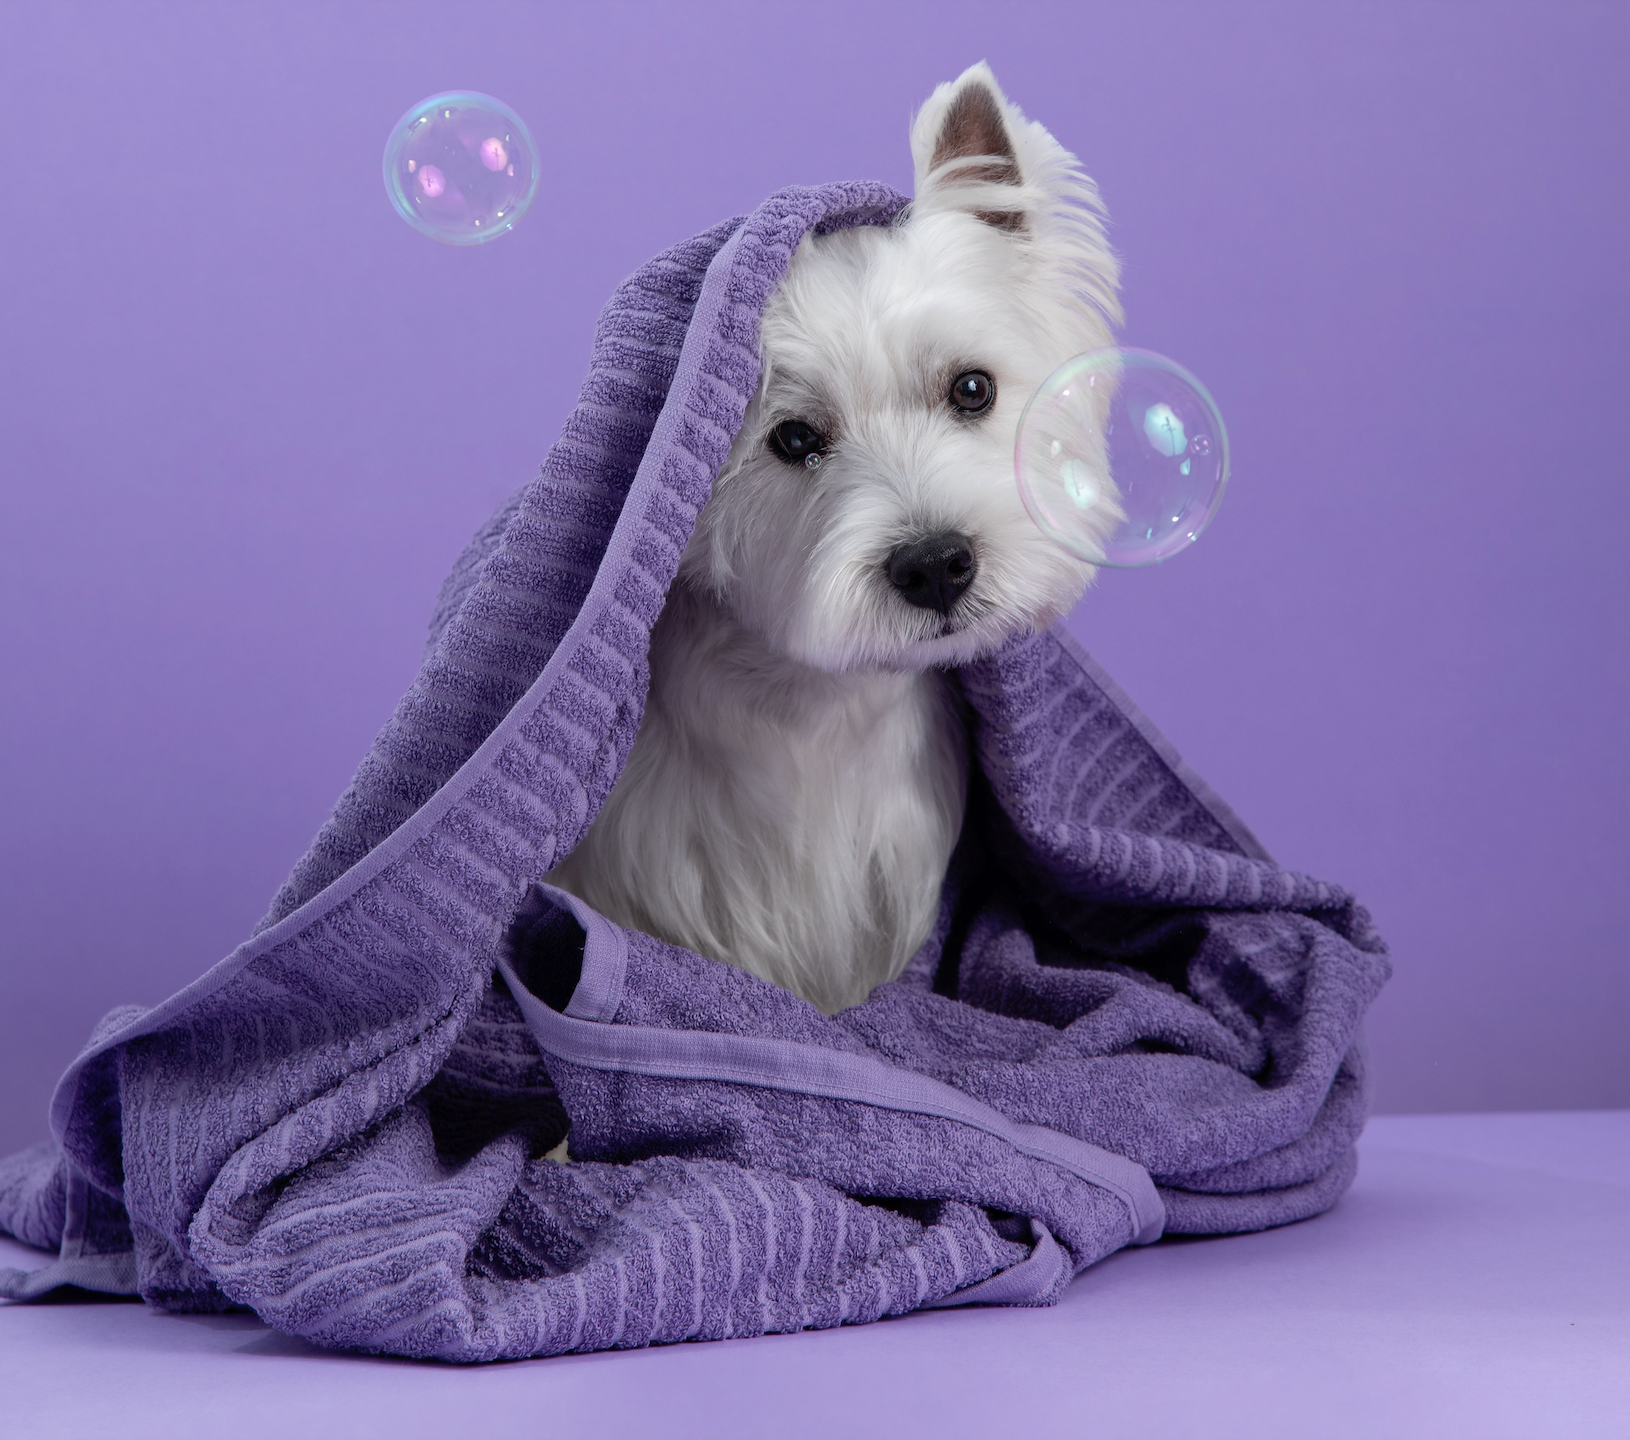
When it’s time to dry off, you should soak up as much water as possible with a good absorbent towel or two. Consider laying out extra towels on the floor for your dog to roll around on as they try to dry themselves off. You may use a hairdryer set on cool or low to finish the drying process, but most dogs can be left to air dry in a warm area.
Some dogs with longer hair can benefit from a little haircut for their comfort. You don’t have to give your dog a full poodle cut (and it’s actually recommended to not use razors or clippers on your pet without expert training), but there are some areas you should pay attention to.
If your dog has long fur on their paws, hold their paw gently but firmly with one hand and use the other to carefully trim any long tufts of hair to prevent painful tangles and clinging dirt or snow. If your dog tries to flail or yank their foot away, get an assistant to help distract them with their favorite treats!
If long hair is flopping in your dog’s eyes or dragging in their water bowl, a small amount of trimming can make a big quality of life difference! Get them relaxed and settled before making small, careful snips while holding them still. Go slow and don’t be afraid to take breaks.
If you don’t feel confident doing this, you can leave trimming their hair to the experts. (We understand your struggle, wiggly dog owners.)
Most dogs’ natural oils are enough to keep their fur and skin soft and they won’t require moisturizing, but it can be helpful in some cases. If you have to bathe your dog frequently (dirt happens), they can use an extra boost of moisture to replace the stripped natural oils. Hot, dry climates and intense winters can also dry out the skin, and some dogs are just naturally prone to be dry.
You can use dedicated doggy conditioners or keep things simple by massaging a little bit of melted coconut oil all over your dog’s skin and fur after their bath. This pet-safe oil is actually good for them even if they lick some off and will leave them extra soft, smooth, and shiny! (Skip the coconut oil for any dogs with known sensitivities.)
Between stubborn dogs and the fact that a wrong cut can leave your dog bleeding, nail trimming can understandably be one of the most intimidating parts of pet grooming! The good news is there are ways to make nail care easier.
When it comes to nail trimming, you’ll want to get your dog calm (and maybe distracted with treats) and start slowly. Don’t try to cut their nails if they’re too wiggly for you to make a careful and confident cut.
If your dog has light-colored nails, you may be able to see the pink, fleshy “quick” inside the nail. You want to cut below the quick, never coming too close to avoid a painful cut. If your dog has darker nails and you can’t see the quick, you can start making small gradual cuts until the length looks right or you hit a white, chalky layer inside the nail—a sign that you’re close to the quick.
You can get them groomed professionally and use the benchmark of how short the groomer cut their nails as an estimate of how long to cut them yourself or take note of if their nails tap on the floor while they walk. As long as you don’t hear their nails clicking on the kitchen tiles, that’s a sign that their nails aren’t too long!
If you ever accidentally cut too close to the quick, it will likely hurt your dog a little and they may start to bleed. Keep styptic powder on hand to quickly dip the toe into to stem the bleeding. Apply gentle pressure to the powdered nail for a few minutes until the bleeding stops. In the rare event that it doesn’t slow down, take your dog to the vet for expert help.
Accidents happen, and what matters is that you’re ready to take care of your dog and help them feel better!
Some dogs and owners prefer filing their nails instead of trimming. Filing can be more time consuming and may need to be done more regularly to maintain the length of the nails, but it can be a good option for pets and people who don’t like nail clippers!
You can use an electric file to gently grind down one nail at a time, but some dogs don’t like the loud sound of the file. You can also train your dog to use a sandpaper-covered scratch board to naturally wear down those long claws all by themselves!
Find more tips in our guide to canine nail maintenance!
Just like people, some dogs are prone to having waxy ears and some aren’t. You may never have to clean your dog’s ears, but you should check them regularly to make sure they’re in good health.
Whenever you bathe or brush your dog, take a look inside their ear and see if you notice any dirt or earwax buildup. Itchy ears are another good sign that it’s time for a clean! (If you notice any redness, irritation, foul smell, or ear mites, that’s something for your vet to handle.)
To clean your dog’s ears, get them settled and stationary. When they’re calm, lift up their ear and carefully fill their ear canal with liquid cleaning solution. Pour generously—there’s a lot of room in there!
Continue holding their ear out of the way while you gently massage the base of the ear for about 30 seconds to work the solution through all the nooks and crannies of the ear canal. Press a towel to their ear and either tip their head to the side to pour the solution out or (more likely) let them do their thing and shake out the liquid while you do your best to catch it with the towel.
After the liquid’s out, it’s time to remove the earwax that’s been softened and broken down by the solution. Use a cotton ball to gently wipe down the inside of their ear, swiping out and toward you to pull wax and debris out of the ear. You may use a cotton swab in small folds if needed, but you should never insert anything deeper into the ear canal as it can cause permanent damage.
Find more details in our full guide to ear cleaning!
While many dog owners skip this step, daily tooth brushing is just as important for your dog’s oral health as it is for humans! It may take a few tries to get your dog used to this new routine, but patience will pay off. Try to brush their teeth at the same time every day, ideally after their meals are finished.
Using a soft-bristled toothbrush or a finger brush for a more hands-on approach, gently massage a canine toothpaste into your dog’s teeth and gums in a circular motion, trying to hit all sides and surfaces.
Dog toothpastes typically come in tasty flavors (to dogs, anyway) that will make the whole process more tempting for your pooch! If they are stubborn about keeping their mouth open long enough for you to brush inside, try having them bite down on a favorite large toy, propping their mouth open for easy access.
Find out more ways to keep your dog’s mouth healthy in our vet’s guide to canine oral health!
While we love spending time with our dogs, there are some tasks that are better left to an expert. You should see a pet groomer for shaving (particularly of sanitary areas), extreme matting, grooming difficult dogs, or any grooming tasks that you’re not confident in. You should head to the vet if you ever notice any redness, irritation, pests, or other health issues while grooming. Regular grooming is a great time to survey your pet’s health and notice any small issues before they become a bigger problem.
Grooming doesn’t have to be too complicated, and most importantly it’s a great time to bond with your best friend and show them how much you care. You might notice them giving you extra licks to groom you and return the favor—you know, after they’re done pouting about their bath.